Feature:
1. Wide Application: This thermal resistance wire and heating pad is compatible with for Creality CR6 SE, CR 6 MAX, CR 5 Pro, for Bambu LabX1, P1P 3D printers.
2. Rapid Heating: The heating pad adopts 24V 48W heating rod, which can be rapidly heated, and the temperature range is ?40 celsius to +300 celsius .
3. With Terminals: This thermal resistance wire and heating pad has terminals, and the cable length with terminals is 95mm, which can be used in most printers.
4. Excellent Red Copper And Ceramic: This thermal resistance wire and heating pad is made of excellent quality red copper and ceramic material.The red copper conducts heat quickly and the ceramic can insulate the heat, which ensures the performance as well as the safe.
5. Easy To Install: This thermal resistance wire and heating pad is very easy to install, you just need to connect the connector to the corresponding position.
Specification:
Item Type: Thermistor Wire And Heating Pad
Material: Red Copper, Ceramic
Heater: 24V 48W
Thermistor: 100K NTC 3950
Resistance Accuracy: +1percent
Temperature Range: 40 celsius +300 celsius
Maximum Rated Power: 45mW
Resistance Temperature Coefficient: 2 to 5percent celsius .
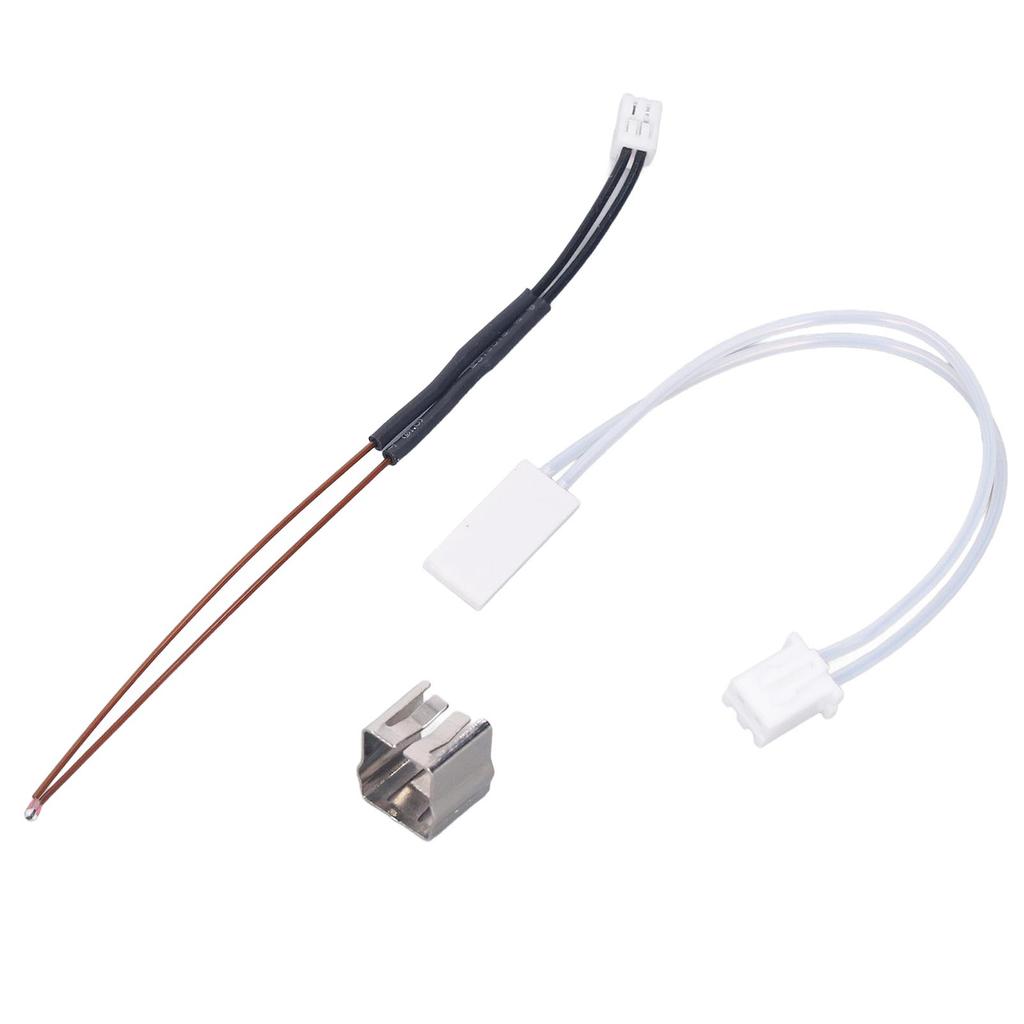
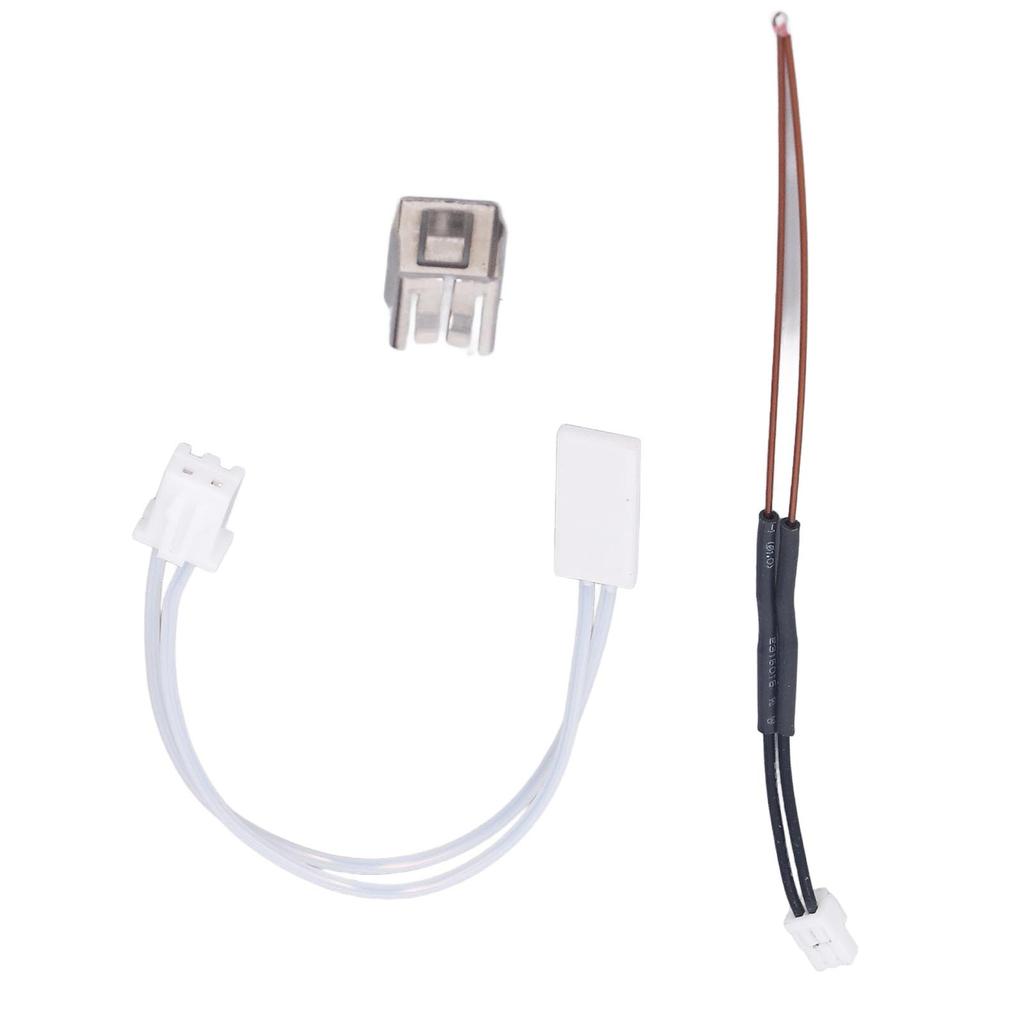
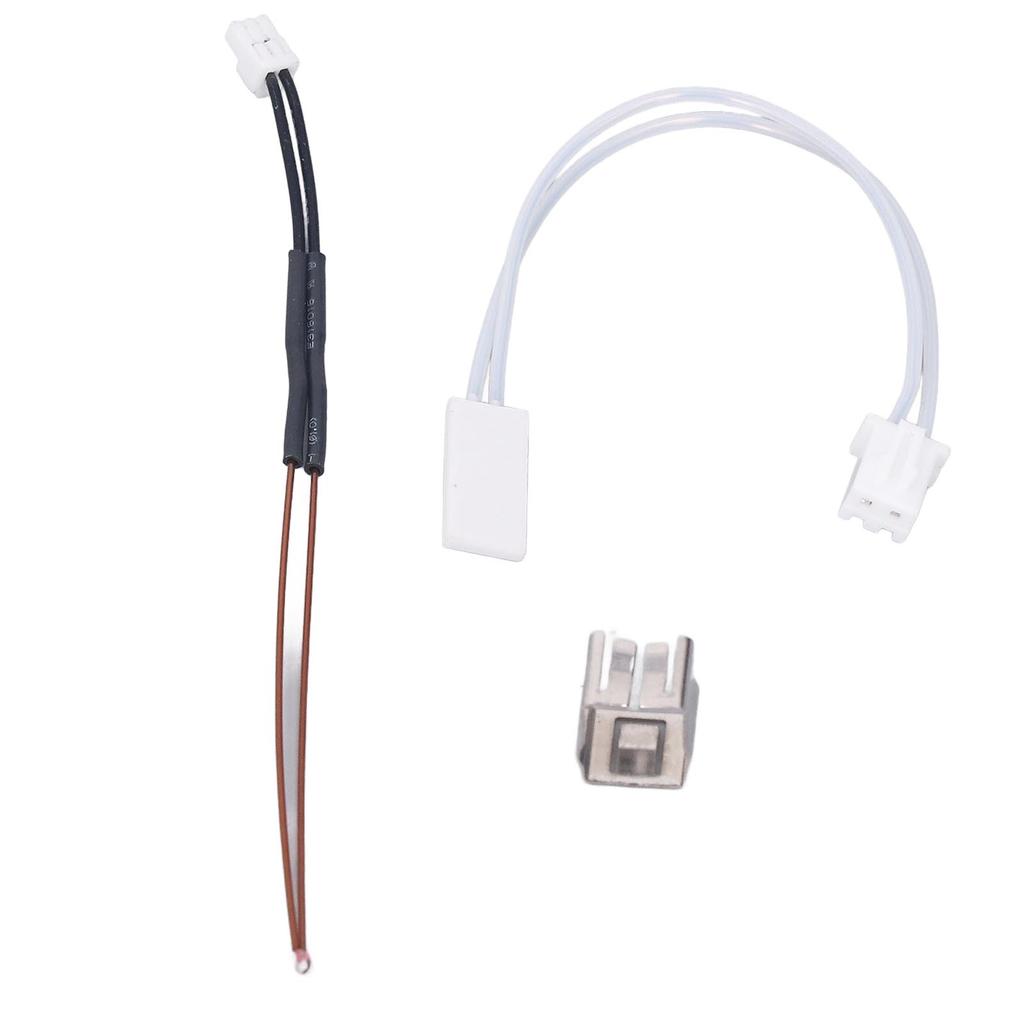
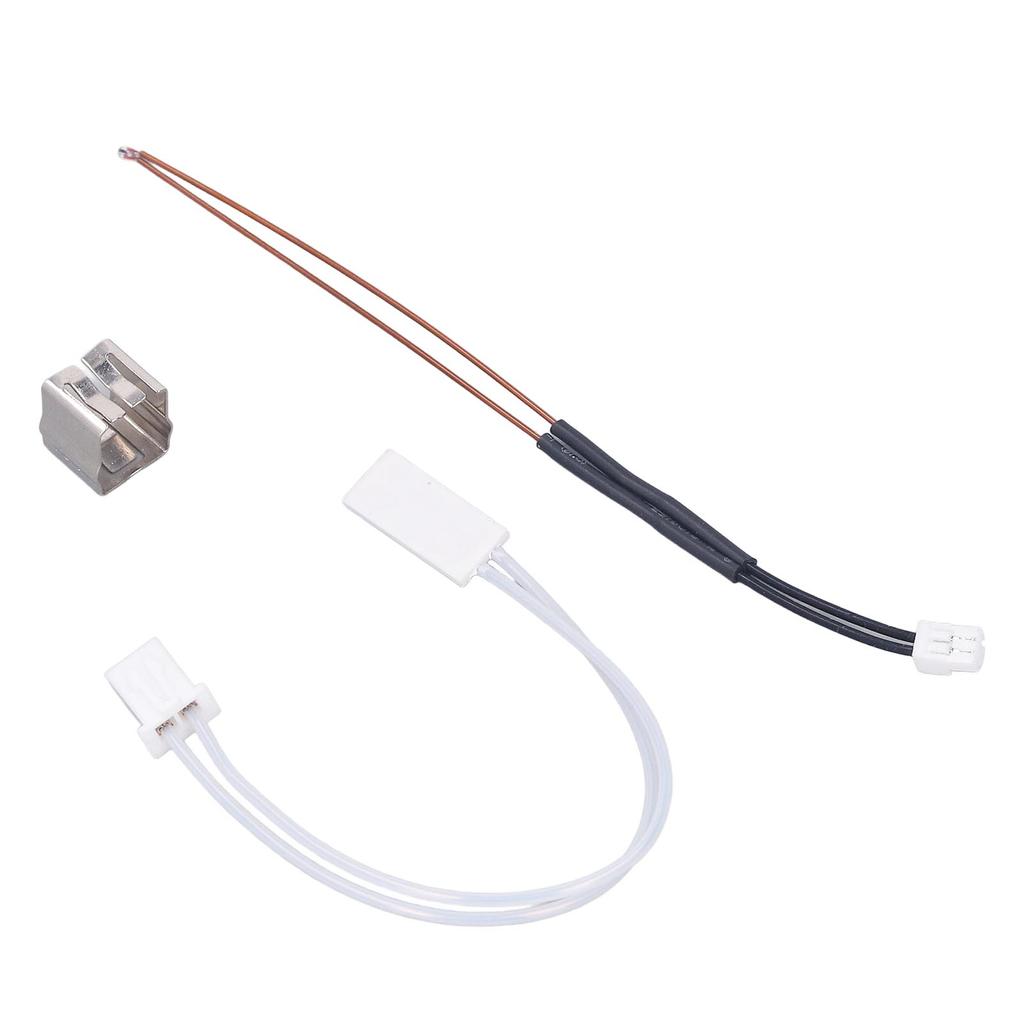
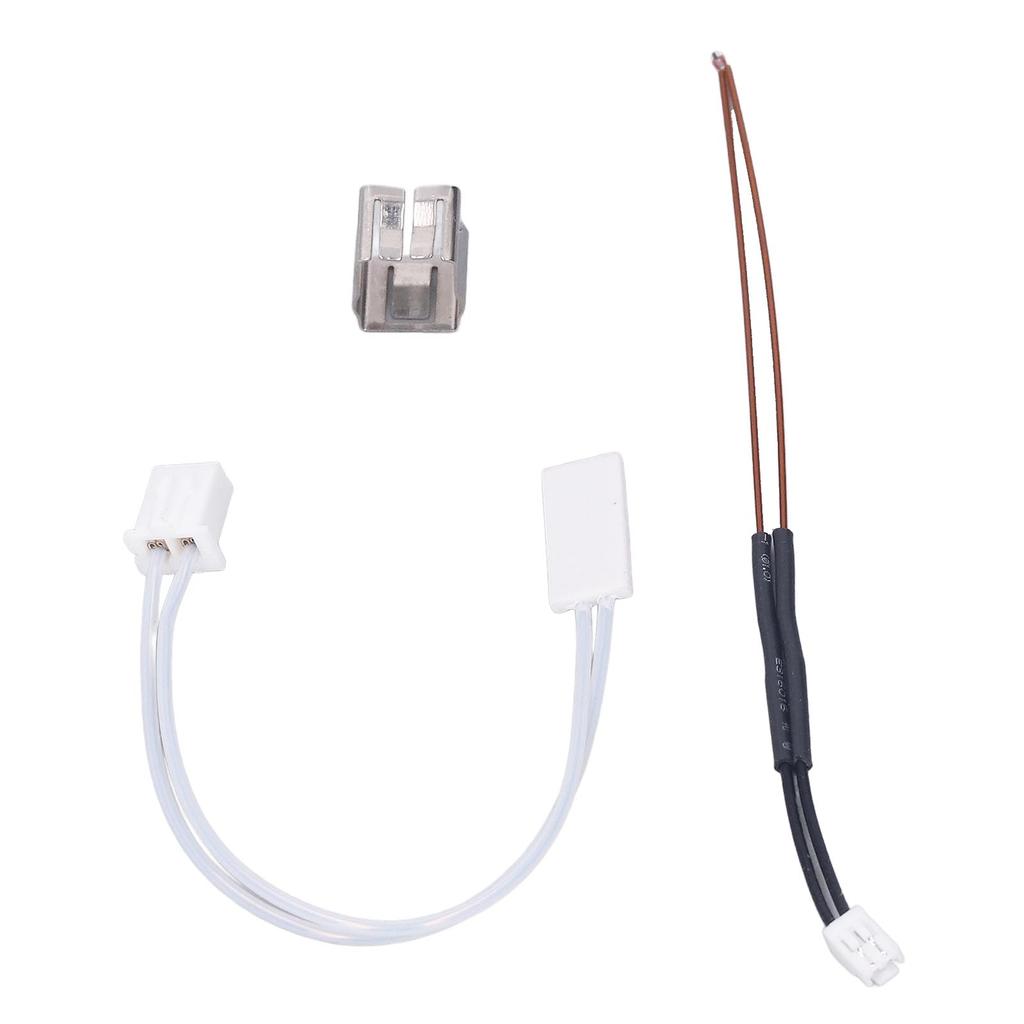
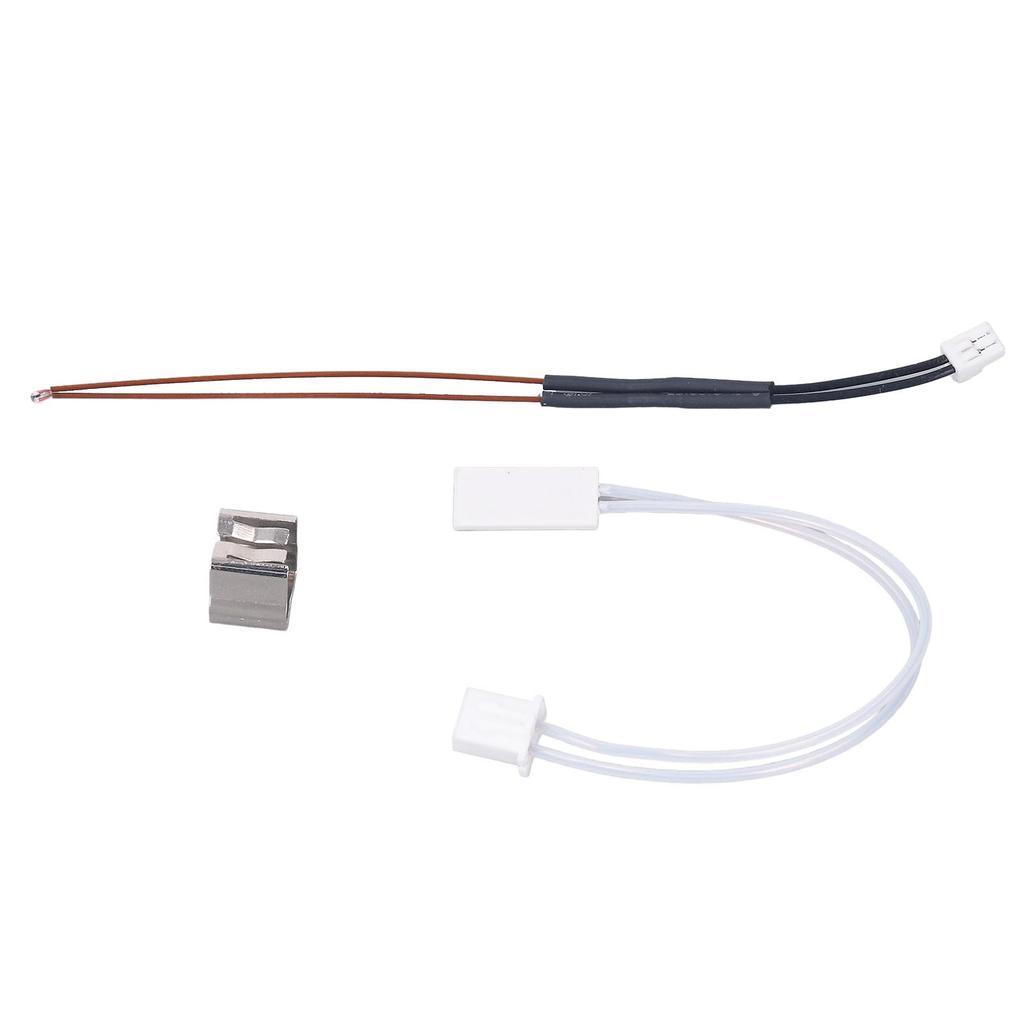
Package List:
1 x Thermistor Wire1 x Heating Pad1 x ClipWide Application: This thermal resistance wire and heating pad is compatible with for Creality CR6 SE, CR 6 MAX, CR 5 Pro, for Bambu LabX1, P1P 3D printers.
Rapid Heating: The heating pad adopts 24V 48W heating rod, which can be rapidly heated, and the temperature range is ?40 celsius to +300 celsius .
With Terminals: This thermal resistance wire and heating pad has terminals, and the cable length with terminals is 95mm, which can be used in most printers.
Excellent Red Copper And Ceramic: This thermal resistance wire and heating pad is made of excellent quality red copper and ceramic material.The red copper conducts heat quickly and the ceramic can insulate the heat, which ensures the performance as well
Easy To Install: This thermal resistance wire and heating pad is very easy to install, you just need to connect the connector to the corresponding position.